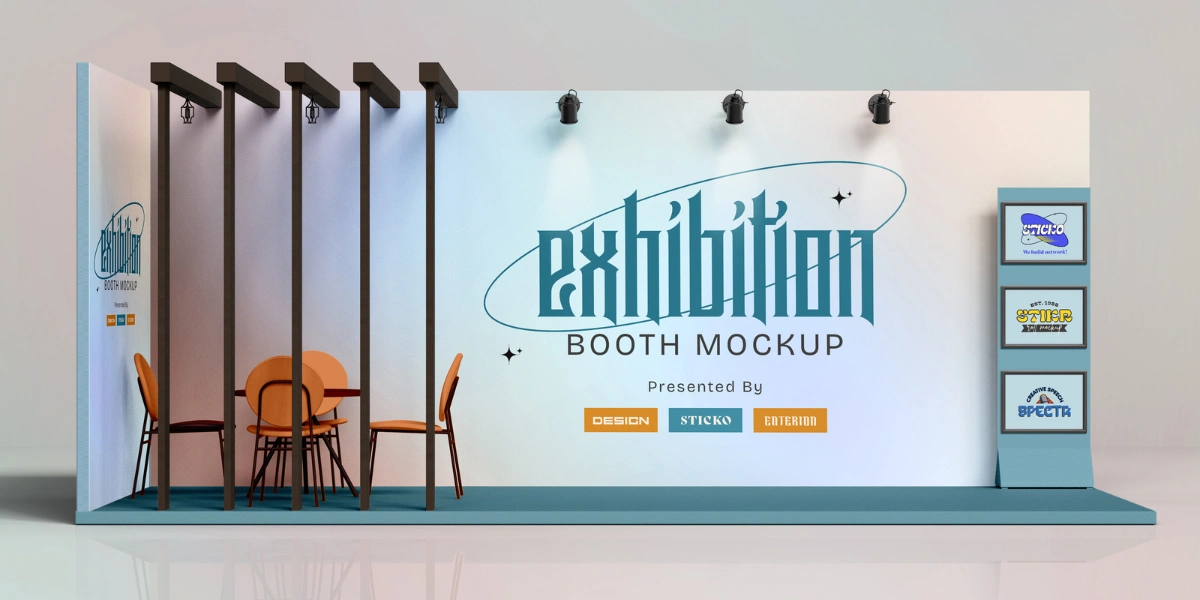
An expo is more than a day of lectures, networking and product displays. A successful exhibition starts long before the guests reach the site. The day before the event is crucial, as this period is when your exhibition stall installation takes shape. You must properly supervise the unloading of supplies, the erection of the structure, and the verification of the lighting, graphics, furniture, and technology.
By understanding what happens on this final day of preparation, exhibitors can plan, prevent last-minute complications, and have their booth ready when the exhibition doors open.
The first major step the day before an expo is reaching the venue. Depending on the event schedule, installation crews may have a set time to enter the venue. Big exhibits usually have strict regulations on loading, unloading, and movement within the site.
Upon arrival, the crew normally locates the assigned stall space first. The crew verifies the stall number, floor markings, size, and adjacent areas to confirm they match the authorised layout.
At this point, the important tests are:
This first inspection gives the crew a chance to spot potential problems before construction starts.
The position is then confirmed, and the items for the stand are carried into the exhibition hall. These may comprise structural elements, floors, countertops, display units, furnishings, lighting equipment, graphics, signs, screens and other promotional features.
Exhibition halls may be quite crowded during installation hours, and the unloading procedure must be well organised. Handle materials carefully to avoid scratches, dents, breakage or damage to printed designs.
The installation crew usually evaluates each key component against the specifications planned. If a part is missing or broken, it can lead to serious complications, especially if the event is just hours away; therefore, early inspection is essential.
The supplies are then placed in the assigned area and physically installed. Depending on the design, the installation may include floors, platforms, wall panels, frames, dividers, counters, storage sections and display structures.
The structure is built according to the approved design and dimensions. The crew must check that the walls are correctly aligned and that the overall structure is sturdy.
Flooring is also a key part of the process. A well-finished floor provides a clean look and can give the whole cubicle a more professional vibe.
At this point, installers may choose to concentrate on:
Each piece must fit together properly to provide the desired look.
Once the basic framework is in place, the focus shifts to visuals and branding. The location and polish of exhibition graphics are critical, since they're often the first thing people see.
Walls and display panels are adorned with large-format graphics, logos, product information, photos, and promotional messages. The crew verifies the graphics to ensure they’re straight, properly positioned, and free of noticeable creases or damage.
Branding should be visible from multiple perspectives. If the stall has any overhead signs, they should comply with venue standards and be clearly visible.
Lighting can make a big difference to the appearance of an exhibition display. Once the structural work is complete, installers often add spotlights, ceiling lights, display lighting and other fixtures.
Lighting is not only used to make the stall bright. The amount of light required may vary by location and area. Make sure product displays, graphics, reception counters, and meeting areas are all well lit.
The team also reviews:
A final lighting test ensures the stall is at its best during the expo.
With the primary building work finished, place furniture and display pieces. This may include seats, tables, couches, stools, shelves, countertops, cabinets, and product stands.
The layout should comply with the authorised floor plan and provide sufficient circulation space for guests and workers.
A good layout blends looks and function. Visitors should be able to access the stall easily, browse the items, chat with personnel and move between various locations without feeling cramped.
This step also covers storage. Promotional materials, bags, brochures, personal effects, and other supplies must be stored in a way that does not interfere with the booth's visual appearance.
Exhibition displays nowadays employ technology to grab attention and pass on information. Before the exhibition starts, you may need to set up all the screens, tablets, interactive displays, speakers, charging stations, laptops, and other equipment.
The best is to test everything the day before the display.
The team may check:
A technological run-through is particularly crucial, since technical faults during the exhibition hours can stop presentations and create a terrible visitor experience.
Always prioritise safety. Before leaving the location, the installation crew must check that the stand conforms to the exhibition organiser's specifications.
Structures should be sturdy, pathways clean, and electrical connections safeguarded. The crew must keep emergency exits, fire facilities, and specified access places clear.
The crew should also check for exposed connections, unstable displays, sharp edges, or unsecured components that might present problems.
Following installation, dust, packing materials, fingerprints or installation debris may remain in the stall. Therefore, it must be cleaned thoroughly.
Floors are mopped, surfaces wiped, graphics checked, and furniture properly placed. Products and advertising materials are arranged in their proper spot.
The last step is to turn the building site into an exhibition venue fit for presentation.
The installation staff will do a comprehensive walkthrough before leaving. It’s effectively the last quality-control check before the show starts.
Enter the stall like you would a guest. Look at the logo, items, displays, lighting, and seating from various angles to ensure they look as they should.
A last checklist may be:
The crew also takes images during this walkthrough to capture the completed setup and note anything that may require maintenance.
The exhibition day is the last opportunity to resolve issues without adding pressure. The day before an exhibition is the final opportunity. A missing image, a bad screen, a poorly placed counter, or illumination problems can be much tougher to fix once guests start visiting.
So, installing show stands is more than just creating a framework. This demands coordination, inspection, testing, presentation and attention to detail.
A well-prepared booth delivers a strong first impression and builds confidence in the display team. Once everything is in place before the doors open, workers can focus on what matters most: greeting people, showcasing items, building connections, and creating business opportunities.
The work on the exhibition doesn't end when the stand design is accepted. That’s the day before the exhibition, when the design becomes a reality. From venue access and material unloading to construction, graphics, lighting, technology, safety inspections and final cleaning, every step builds to the ultimate product.
Careful preparation and an organised installation procedure can keep last-minute stress to a minimum and ensure the stall is ready on time. Viewing the day before the exhibition as a full quality control stage, not just a setup phase, allows exhibitors to arrive at the event with a professional, structured and visitor-ready environment.
To explore professional exhibition solutions and customised booth designs, visit Fusion Corp or check their exhibition portfolio for completed projects.
Also Read: The Psychology of Booth Design: Attracting Visitors
Also Read: How to Choose the Right Exhibition Stand Type
Also Read: How 3D Design is Revolutionizing Exhibition Stands
Also Read: How to Design an Eye-Catching Exhibition Booth
Also Read: The Rise of Interactive AV (Audio-Visual) in Exhibitions
Also Read: Virtual vs. Physical Exhibitions: What Works Best?
Also Read: How AI is Transforming Event Engagement
Also Read: Mistakes to Avoid in Exhibition Planning